
Pinball Machine Birthday Cake
I love making themed cakes, but I tend to only make them on special occasions. When making a themed cake, it requires not only a lot of thought of time, but also a lot more resources. Demetrios and I have been together for 6 of his birthdays. I have used every birthday as excuse to make a cake of something he enjoys.
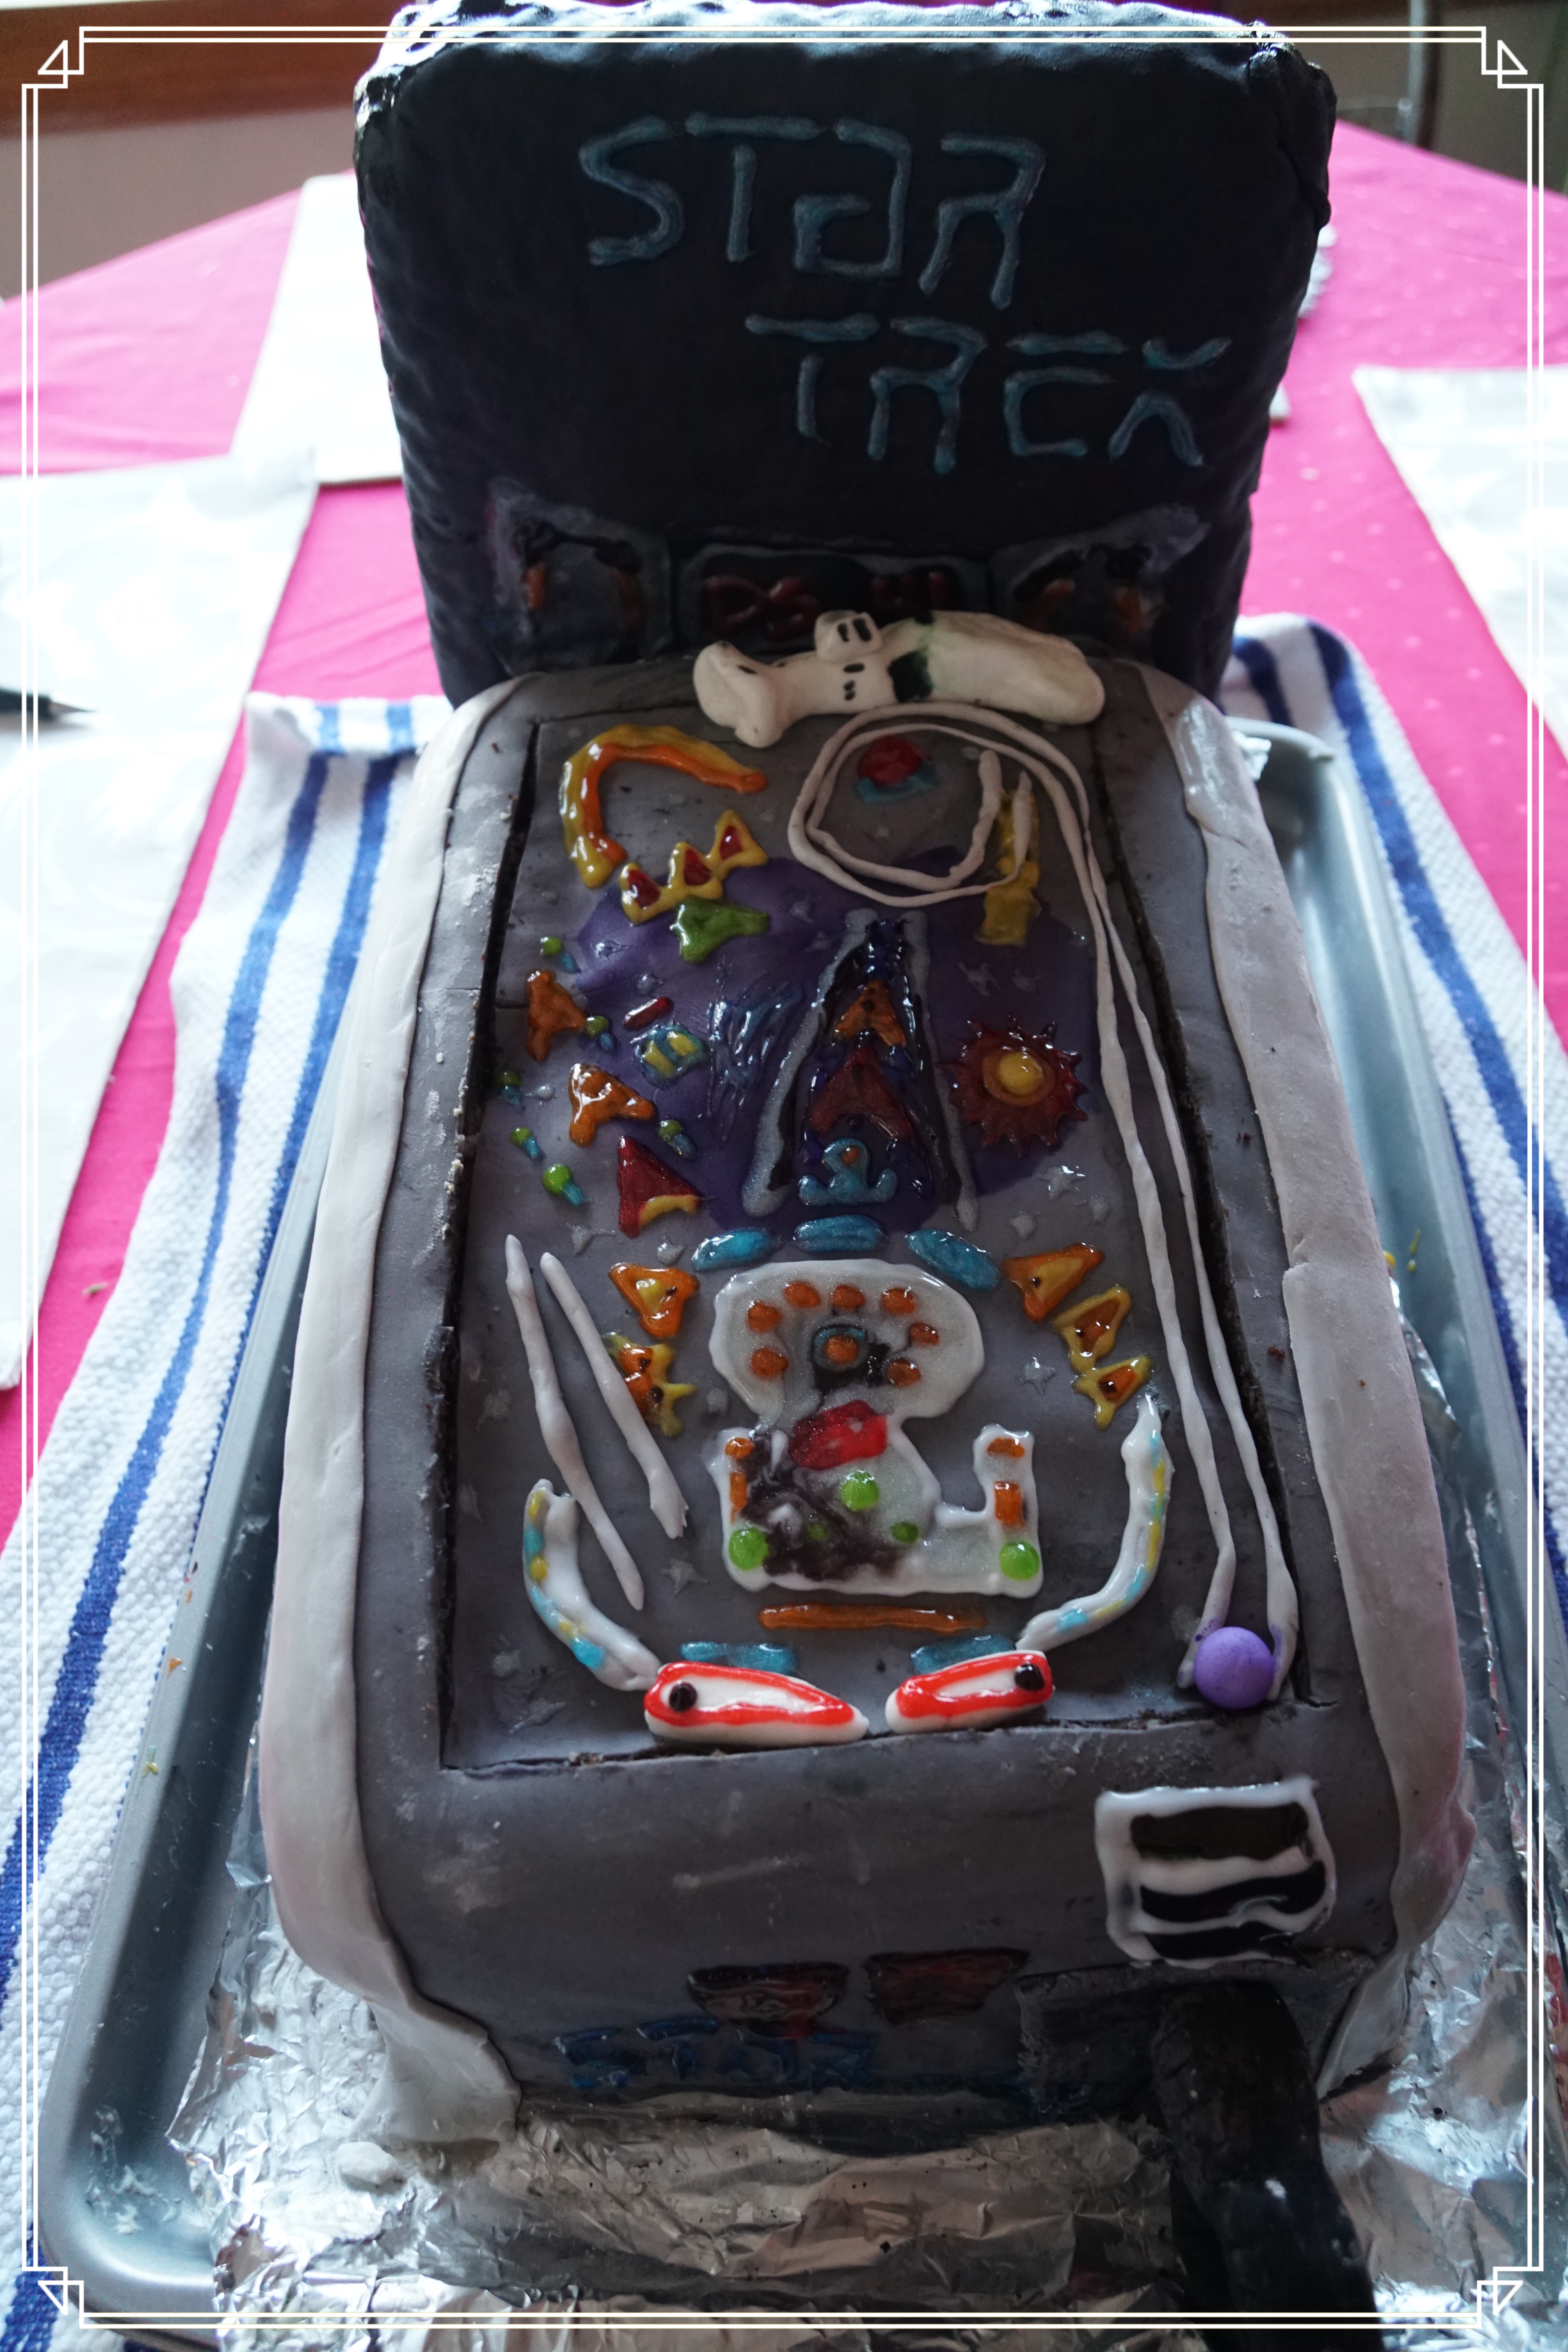
This year I based I made a pinball machine based off of his favourite pinball machine: Star Trek: The Next Generation 1993 release. We actually got to play this machine last year at the Pinball Museum in Asheville, North Carolina (where/when he proposed to me!).
This year the cake planning and making was rushed for me so I didn’t get to put as much time into it as I hoped but it was delicious! Originally I had planned to use printed sugar sheets to get the actual picture from the pinball machine. I am no artist when it comes to drawing faces, or drawing most things for that matter. I was unable to get the sugar sheets in that quick of notice so I compromised.
I decided the cake had to be 4 layers because I wanted it tall, and I wanted it to be two flavours so I would be able to alternate the flavours evenly. I settled on chocolate and vanilla, with a cream cheese buttermilk icing.


Layering the Cake
When layering a cake make sure that all the layers are flat. When baking a cake the top tends to puff up. You want to make sure to trim this.
I had bad luck with this cake because all of my layers baked at an angle. Someone put the grate back into the oven upside down so all my cakes were lopsided. To counteract this I tried to match up the opposite sides. I was lucky that I managed to pull it off.
*Make sure you wait for your cake to completely cool before trimming it!
Put a nice amount of icing in between the layers and stack them up! Once you have completed stacking them make a crumb layer of icing around the entire cake. This makes sure the crumbs don’t ruin the outer icing.
Put it in the fridge and chill for 15 minutes.

Fondant
In my opinion, store bought fondant is not very tasty. I make my own marshmallow fondant which is super easy to make and work with. You can also add flavouring to it if you wish. Find the recipe here.
Colouring fondant can be tedious work. You have to add dots of colour and the knead it in until it well mixed. The deeper the colour the more food colouring you will have to use. I use both Americolor food colour gels and Wilton food colours.
After your fondant is coloured, roll it out to 3/8”- 1/4″ thickness. Make sure to dust the countertop with icing sugar and the rolling pin to prevent sticking. If the fondant sticks it will likely tear and you will have to start all over again.
For this cake I also used to fondant to make different shapes for the pinball machine. It worked well because they were small. I just hand formed them and then used some tools I have to make indents in the proper places.


Rice Krispie Treat
To get the back of the pinball machine I made it out of Rice Krispies. It is light and super easy to work with. You make the Rice Krispie as directed on the cereal box and place it in a pan of the shape you want. I waited about 20 minutes for it harden and then put fondant on it. I decorated the fondant with the gel icing and put it in the oven with just the oven light on. The heat from the oven light hardens the gel icing. This can take a few hours (I was short on time so it didn’t set as best as it could). Once it was ready I stuck the piece to the cake with long skewers to secure it against the cake.

Decorating
I decorated the cake using 3 different ‘tools’
- I used a spray icing to add a background on top of the fondant and add more colours.
- I decided to decorate with gel icing because it’s all I had and I like the gel look that it gives. That being said, it tends to run and isn’t always the easiest to work with. As mentioned above, when using gel icing I recommend giving yourself a good 3 – 4 hours to let it sit in the oven with the oven light on so it hardens.
- I used fondant to make pieces from the top of the pinball machine. They were small pieces so it was easy to form. I used them to make the pinball, the pinball guide, the trigger (that was held on with toothpicks) etc.
The Final Result
This cake was not as seamless as I had hoped, but it takes a lot of time that I didn’t have. At the end of the day, I had a great time making it, it tasted delicious, and most important of all, he loved it.


Leave a Reply